Introduction
SQL Server Integration Services (SSIS) is a powerful tool for data integration and workflow automation. Setting up SSIS in Visual Studio 2026 is straightforward when you install the appropriate extensions and tools. This guide walks you through the step-by-step process to enable SSIS functionality in Visual Studio 2026 so you can create, manage, and deploy ETL packages and use ZappySys SSIS PowerPack components.
Prerequisites
- Visual Studio 2026 installed on your machine.
- Administrator privileges for installing extensions.
Steps
Open Visual Studio
- Launch Visual Studio 2026.
- Click on Continue without code
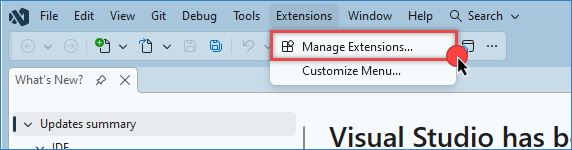
- Go to the top menu and select Extensions > Manage Extensions.
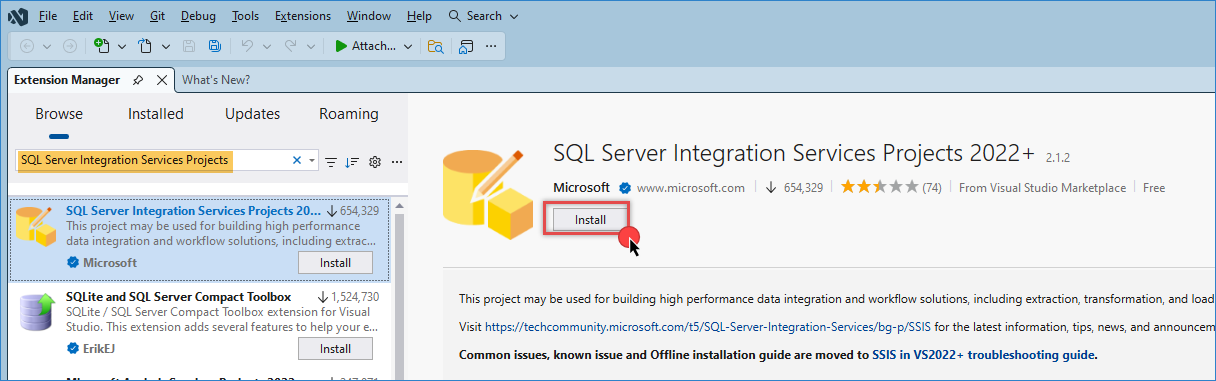
- Use the search bar to find SQL Server Integration Services Projects (2022+), or download it here.
Install the SSIS extension
-
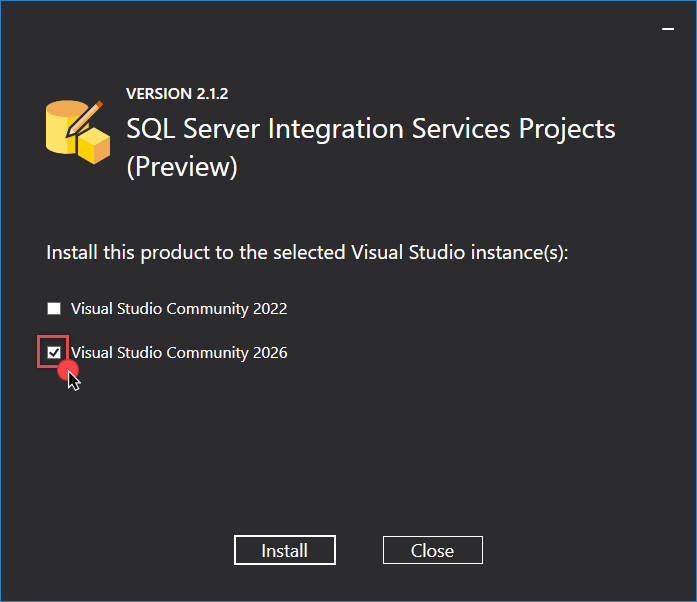
Check the version for Visual Studio 2026.
-
Follow the prompts in the Visual Studio Installer to complete the setup.
-
After installation, restart Visual Studio.
Verify installation
-
Open Visual Studio and go to Create a new project.
-
Search for Integration Services in the project template search bar.
-
Select Integration Services Project and click Next.
-
Configure the project name and location, then click Create. You should now see the SSIS Designer interface, including the Control Flow, Data Flow, and Parameters tabs.

Troubleshooting
SSIS templates not visible
- Refresh extensions: If the SSIS templates are not visible, go to Extensions > Manage Extensions and verify that the SQL Server Integration Services Projects extension is installed and enabled.
- Reset templates: Click Tools > Import and Export Settings, and reset all settings to their default values.
Missing dependencies
- Ensure you have installed the required SQL Server tools (for example, SQL Server Data Tools) during the Visual Studio installation process.
Install ZappySys SSIS PowerPack
- Download the installer for trial or paid users.
- Run the installer as an administrator and follow the on-screen instructions.
- Restart Visual Studio and verify the components are available in the SSIS Toolbox.
Change SQL version
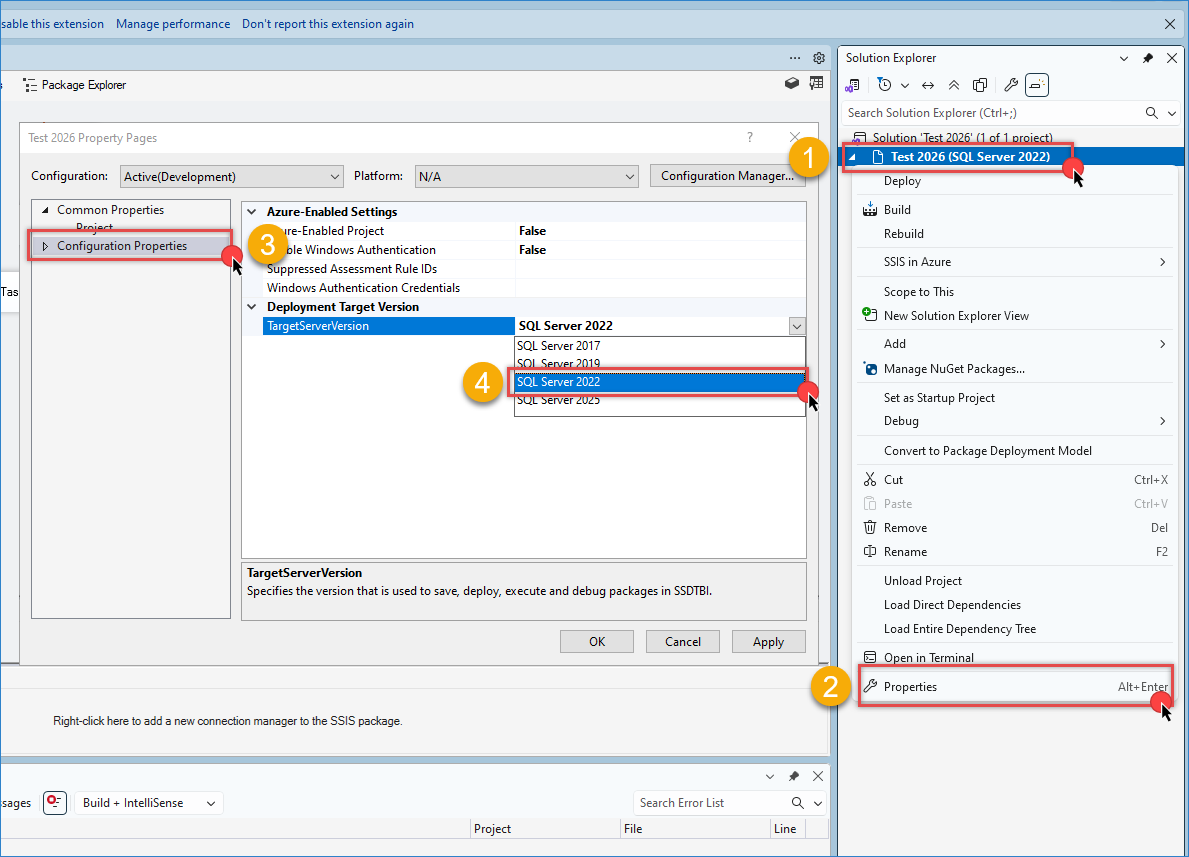
- If you do not see our components inside the toolbox, then right-click on your project name and select Properties.
- Go to Configuration Properties and change the TargetServerVersion to SQL Server 2022.
SSolve the error message while opening an existing project
-
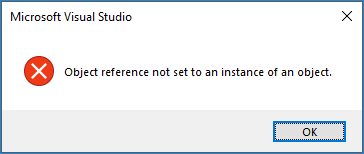
When you open an existing package, you could get this error message from one of your packages.
-
Close the error message and the package tab.
-
Then open your package again, and it will work normally.
If you are using Visual Studio 2022, this article can help; the steps are similar in Visual Studio 2026.
Contact us
If you encounter any issues or have specific questions, reach out to our support team via live chat or submit a support ticket using our email: support@zappysys.com.