When working with Salesforce, you may need to upload local files (PDF, Word, Excel, images, etc.) into Salesforce so they appear in Files (ContentVersion).
With ZappySys SSIS PowerPack and the built-in Import Column Transformation, you can automate this process in a few steps.
Prerequisites
- SQL Server Data Tools (SSDT) with SSIS.
- Download and install the ZappySys SSIS PowerPack.
Step 1 – Source Data
Let’s assume we have a source data with file paths and metadata:
| FilePath | Title | Description |
|---|---|---|
| C:\Docs\Invoice1.pdf | Invoice 1 | April Invoice File |
| C:\Docs\Report.docx | Report Q1 | Quarterly Report |
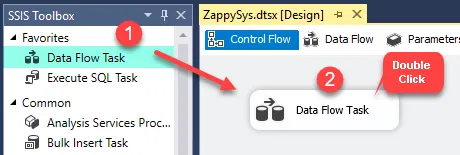
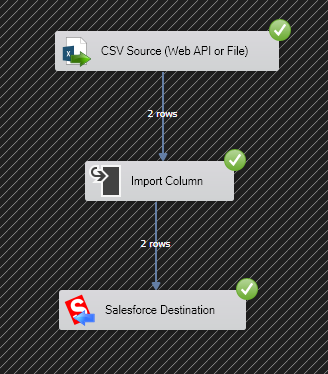
Step 2 – Add Data Flow Task
- Open your SSIS package.
- Drag a Data Flow Task into the Control Flow.
- Double-click to go inside the Data Flow.
Step 3 – Add Source Component
- Add an your desired ZS CSV Source (if CSV) or ZS Excel Source (if Excel) or OLE DB Source (if using SQL table) or any other
- In this example, we’ll use the ZS CSV Source, since the data is coming from a CSV file.
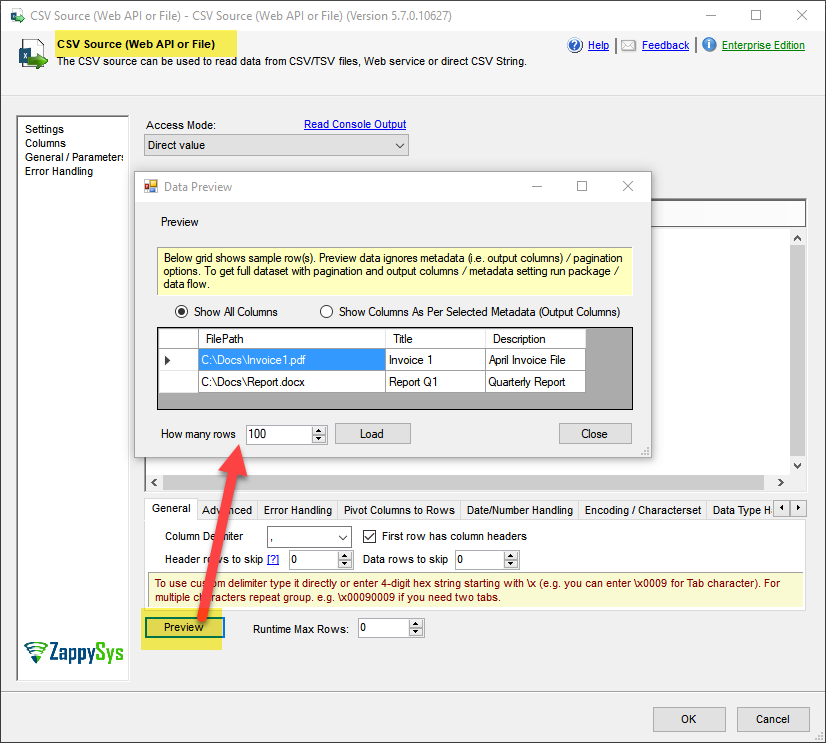
- Drag a ZS CSV Source into the Data Flow.
- Point it to your CSV file (e.g.,
Salesforce_FileUpload_Source.csv). - Verify the preview – you should see columns:
FilePath,Title,Description.
Step 4 – Configure Import Column Transformation (Important Detail)
-
Add Import Column Transformation after the CSV Source.
-
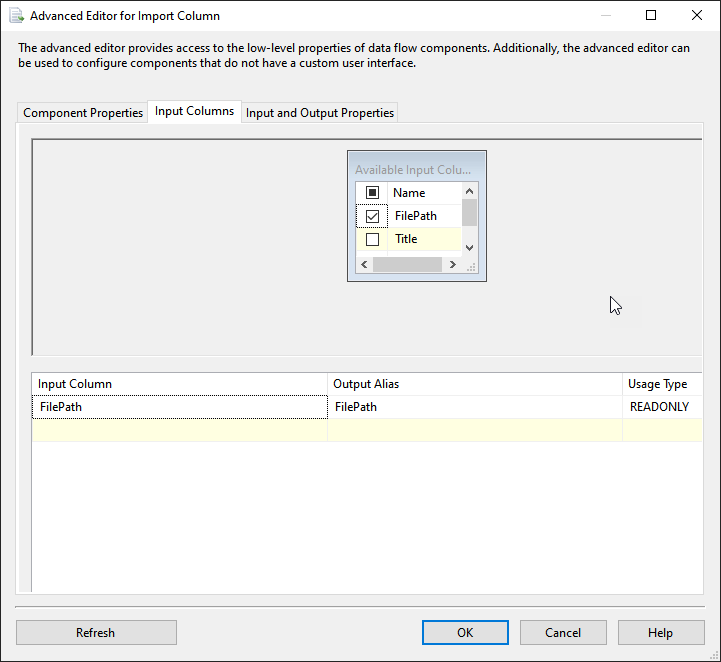
Select Input Column:
FilePath
-
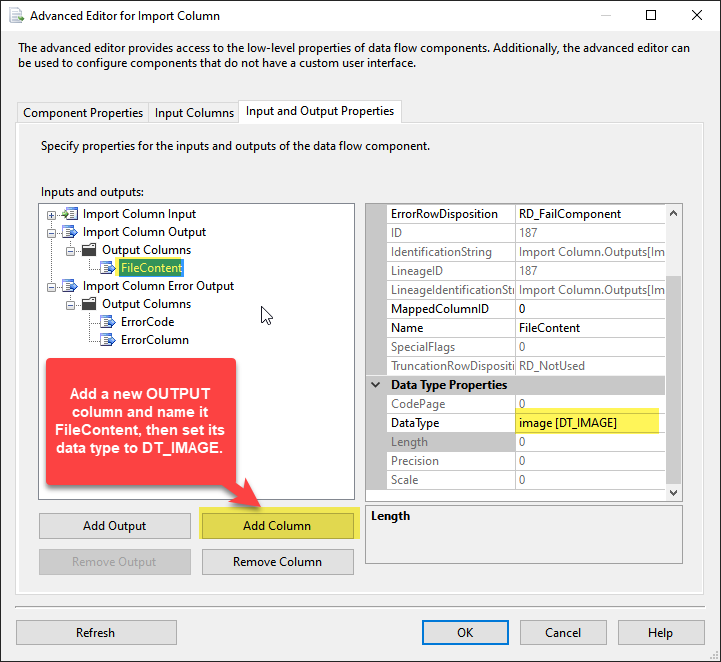
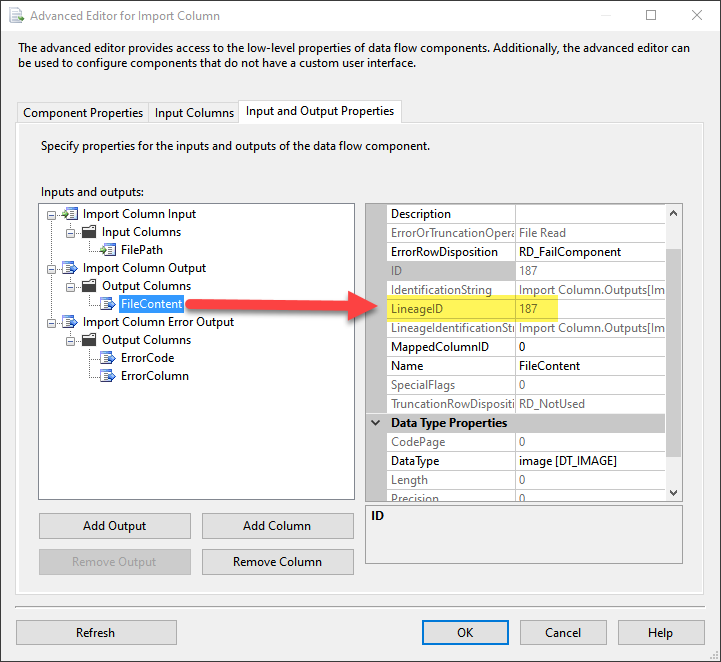
In the Import Column Transformation Editor, create a new Output Column.
- Name it
Photo(orFileContent). - Set the Data type to DT_IMAGE.
- Name it
-
Select the newly created FileContent output column and note its
LineageID.- Example: In the screenshot, the LineageID is 187.
 This value will likely be different in your environment — don’t worry, just copy your actual value.
-
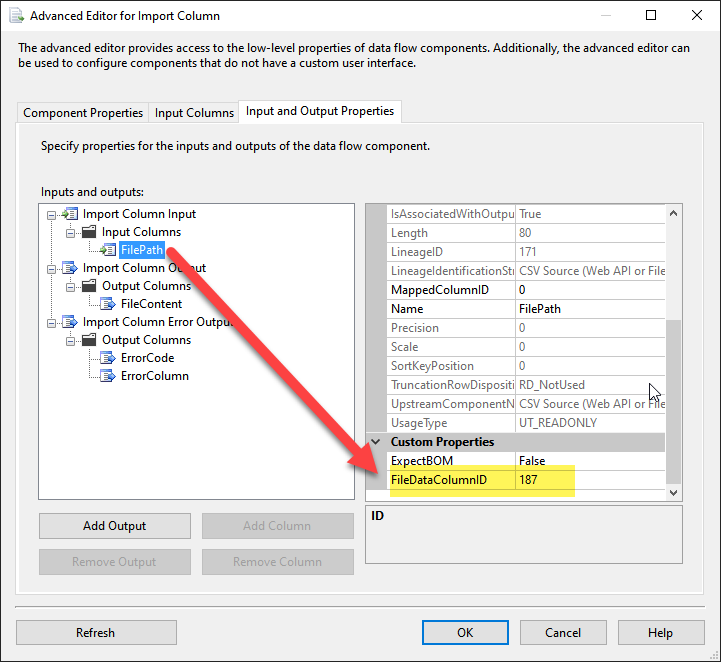
Next, click on the Input Column (
FilePathcolumn that points to local file).- In its properties, locate FileDataColumnID.
- Paste the LineageID value you copied (e.g., 187).
-
Click OK to save.
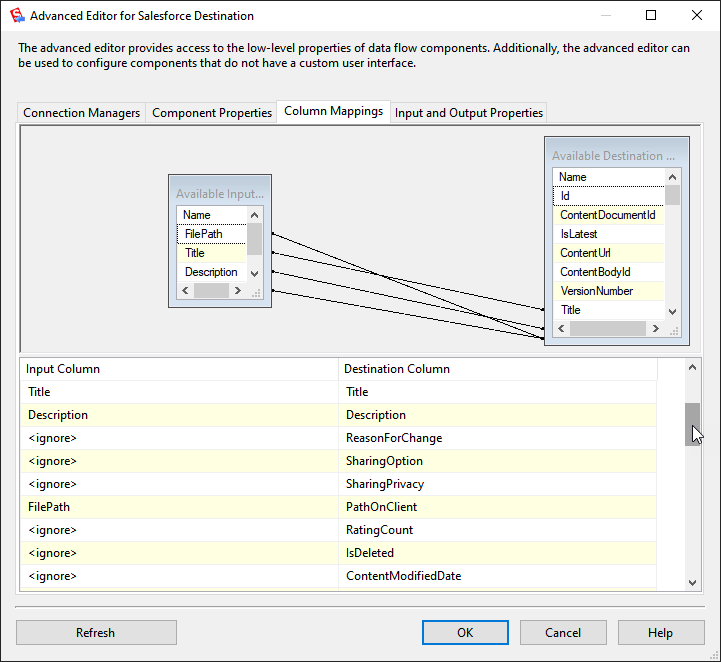
Step 5 – Configure Salesforce Destination
- Drag a Salesforce Destination (ZappySys) into the Data Flow and connect it after the Import Column.
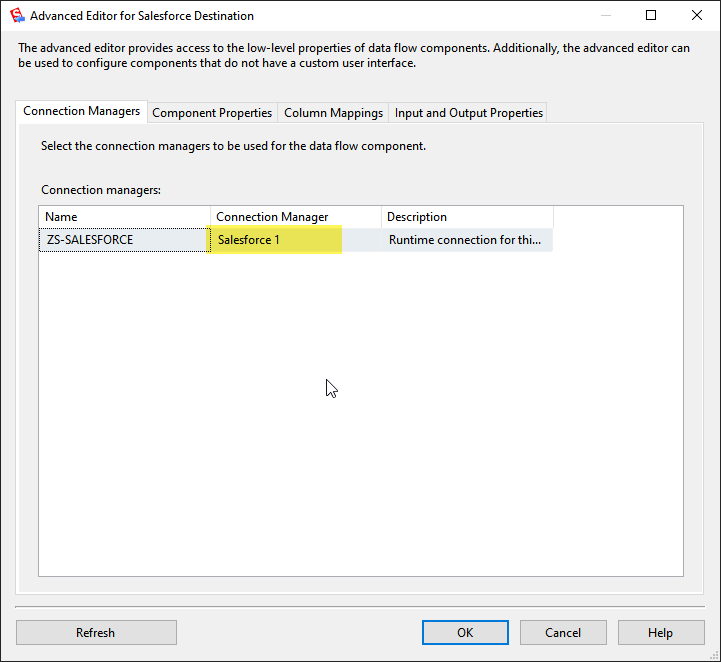
- Double-click to open the Salesforce Destination Editor.
- Create and select Salesforce connection.
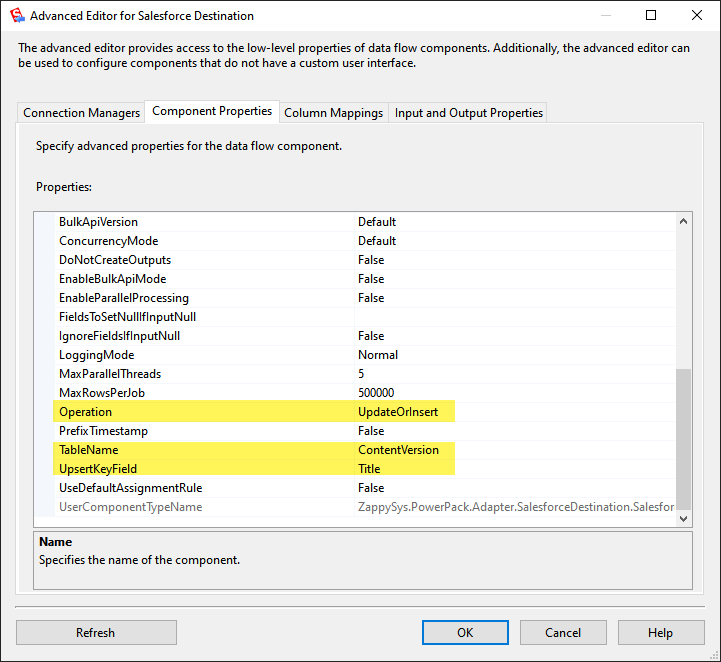
- Go to the Component Properties tab and configure the following:
- Operation →
UpdateOrInsert(Upsert mode, so it inserts new rows or updates existing ones). - TableName → Select
ContentVersion(or whichever Salesforce object you want to load files into). - UpsertKeyField → Choose the unique field Salesforce should use to detect duplicates (e.g.,
Title,PathOnClient, or a custom field).
- Operation →
- Map the fields:
Title→ TitleDescription→ DescriptionFileContent→ VersionData (DT_IMAGE)
Step 5 – Run and Verify
- Execute the package.
- This will upload the local file data to Salesforce.
Troubleshooting
- Invalid field
VersionData→ Ensure you’re inserting intoContentVersion, notAttachment. - Data type mismatch →
FileContentmust be DT_IMAGE. - File not found → Verify file paths are accessible by the SSIS runtime account.
- Large files → Salesforce supports files up to 2 GB, check limits.
Summary
Using Import Column Transformation with ZappySys Salesforce Destination, you can seamlessly load local files into Salesforce. This approach is ideal for automating document uploads such as invoices, reports, and scanned images.
To get started, you can download our SSIS PowerPack