Problem
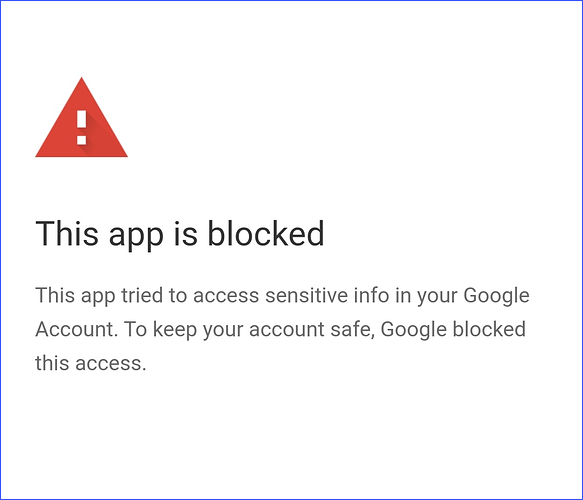
If you’re working with Google OAuth and suddenly hit a wall with an error saying:
“This app is blocked. This app tried to access sensitive info in your Google Account. To keep your account safe, Google blocked this access.”
No need to worry, this issue can be resolved with a few simple steps, especially during development or initial app setup. It’s Google’s way of protecting users when an app hasn’t gone through their full verification process yet.
Let’s walk through why this happens and how to fix it.
Possible Causes
This error typically appears due to one or more of the following reasons:
Unverified App Status: Your app is still in testing mode and hasn’t completed Google’s verification process.
Sensitive or Restricted Scopes Used: You’re requesting access to user data like Gmail, Google Drive, or other Google APIs that require approval.
Not a Test User: You’re trying to authorize with an account that isn’t listed as a test user in the OAuth consent screen settings.
OAuth Consent Screen Not Properly Configured: Required fields such as the app name, support email, or authorized domains are missing or incorrect.
Steps to Resolve the Error
Here’s a straightforward checklist to get things working again:
1. Register the OAuth App Properly
Start by making sure your app is correctly set up in the Google Cloud Console.
Things to double-check:
- The redirect URI matches what you’ve configured in your application
- You’ve added all required OAuth scopes
- The app is set to the correct publishing status:
Use Testing while developing
Switch to Production when going live
If you’re unsure about this process, the ZappySys Guide is a great resource to walk you through it.
2. Add Test Users (If Still in Testing Mode)
Apps in testing mode are locked down. Only users you manually add can authorize the app.
To do this:
- Navigate to the OAuth consent screen in the Google Cloud Console
- Scroll down to Test Users
- Add the email addresses of everyone who needs access
Yes, even your own email has to be added if it’s not the same as your developer account.
3. Move to Production & Verify Your App
Once you’re ready to make the app available to a wider audience (beyond test users), you’ll need to publish it and go through Google’s verification process.
This usually involves:
- Switching the app to “In production”
- Submitting a request for OAuth verification
- Providing a privacy policy URL
- Sharing a demo video showing how your app uses the requested scopes
- Explaining why the requested scopes are needed
Depending on your scopes, the review process can take anywhere from a few days to a couple of weeks.
4. Avoid Restricted Scopes (If Possible)
Not every app needs full Gmail or Drive access. If you can, stick with non-sensitive scopes to avoid the verification process entirely. For example, https://www.googleapis.com/auth/userinfo.email is a common one that’s much easier to use without triggering Google’s stricter policies.
Wrapping Up
Google’s OAuth process can feel a bit strict at first, but it’s there to keep both your users and your app safe. The good news is, once you set everything up the right way, it works smoothly.
If you’re still testing, just make sure to add all your test users. And when you’re ready to go live, be prepared to go through Google’s app verification. It only needs to be done once, and it’s definitely worth the effort.
