Introduction
This article guides you through connecting to the Zendesk API in SSIS. The ZappySys Zendesk connector facilitates seamless integration and management of Zendesk data.
Prerequisites]
- SSIS PowerPack: Download and install the ZappySys SSIS PowerPack from the Customer Download Area or get the trial version.
- Zendesk Account
Steps
Create/Select a Token from the Zendesk Admin Center
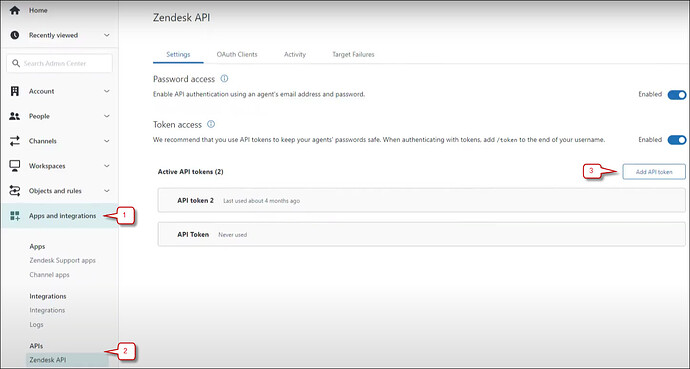
To generate an API token, you must be an administrator and have API token access enabled in your account. Here are the steps:
-
Log into your Zendesk Support settings; it is in Admin Center
https://{yoursubdomain}.zendesk.com/admin/home. -
Click Apps and integrations in the sidebar, then select APIs and Zendesk API.
-
Click the Add API token button to the right of Active API tokens.
-
Create the token, and it will be generated and displayed. Save the token for later.
Locate the User ID
-
From the Admin Center, go to the Team Members page.
-
Enter the agent’s name or email address in the search bar.
-
Open the agent’s profile and get the agent ID from the URL in your browser’s address bar. For example:
https://{yoursubdomain}.zendesk.com/agent/users/[AGENT-ID].
Connect with Zendesk Connector in SSIS
-
Add a Data Flow task to your SSIS package.
-
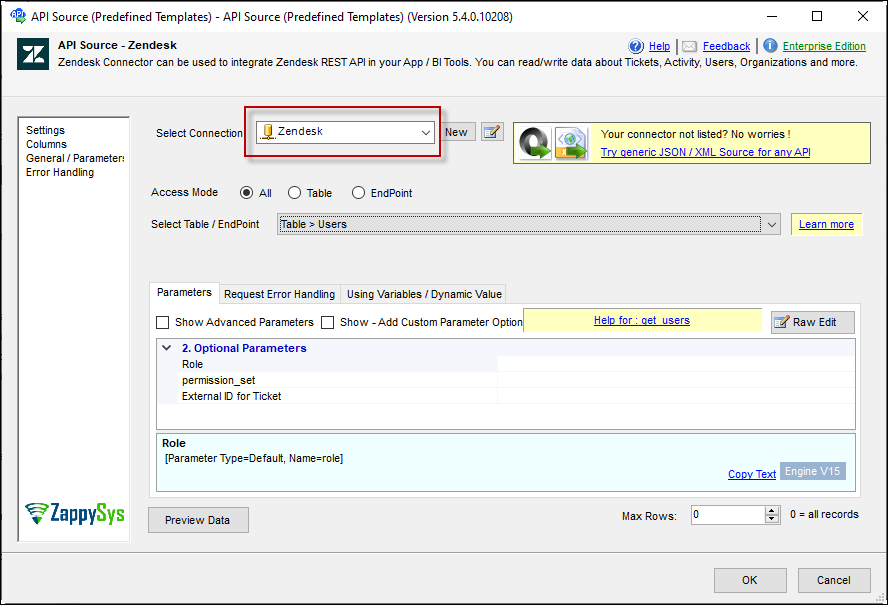
Inside the Data Flow, add an API Source component.
-
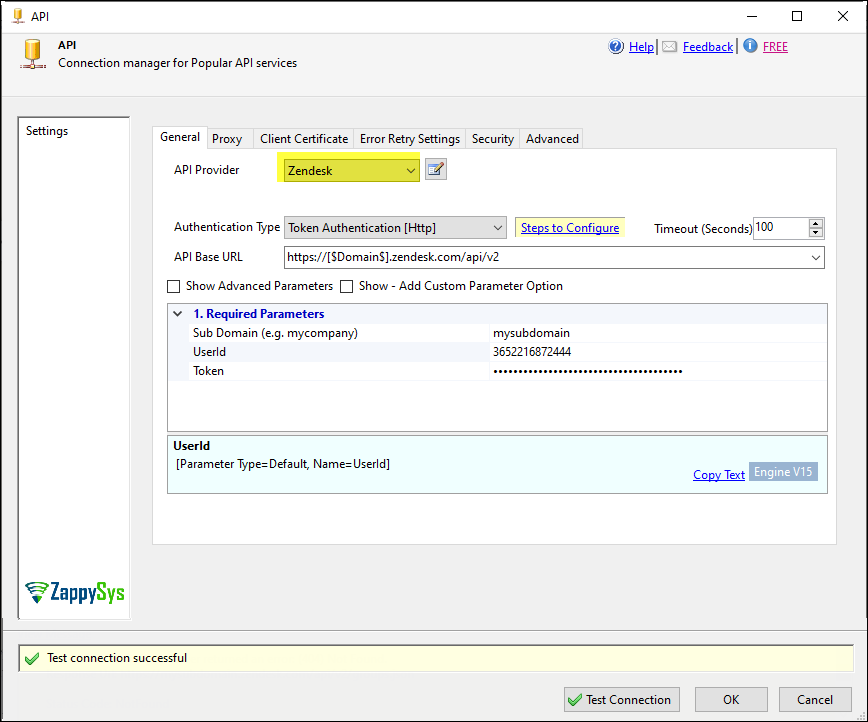
Configure a new connection within the API Source by selecting the Zendesk connector and proceeding to the next step.
-
Enter the sub-domain, user ID, and the token. Then, test the connection.
-
Save the configuration by clicking OK.
-
Choose a table/endpoint and preview the data.
-
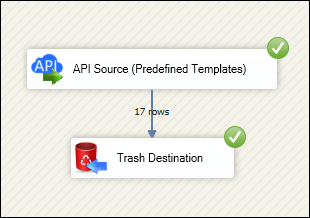
Run the package with a destination component
Considerations
Save your token securely for future use.
Video tutorial
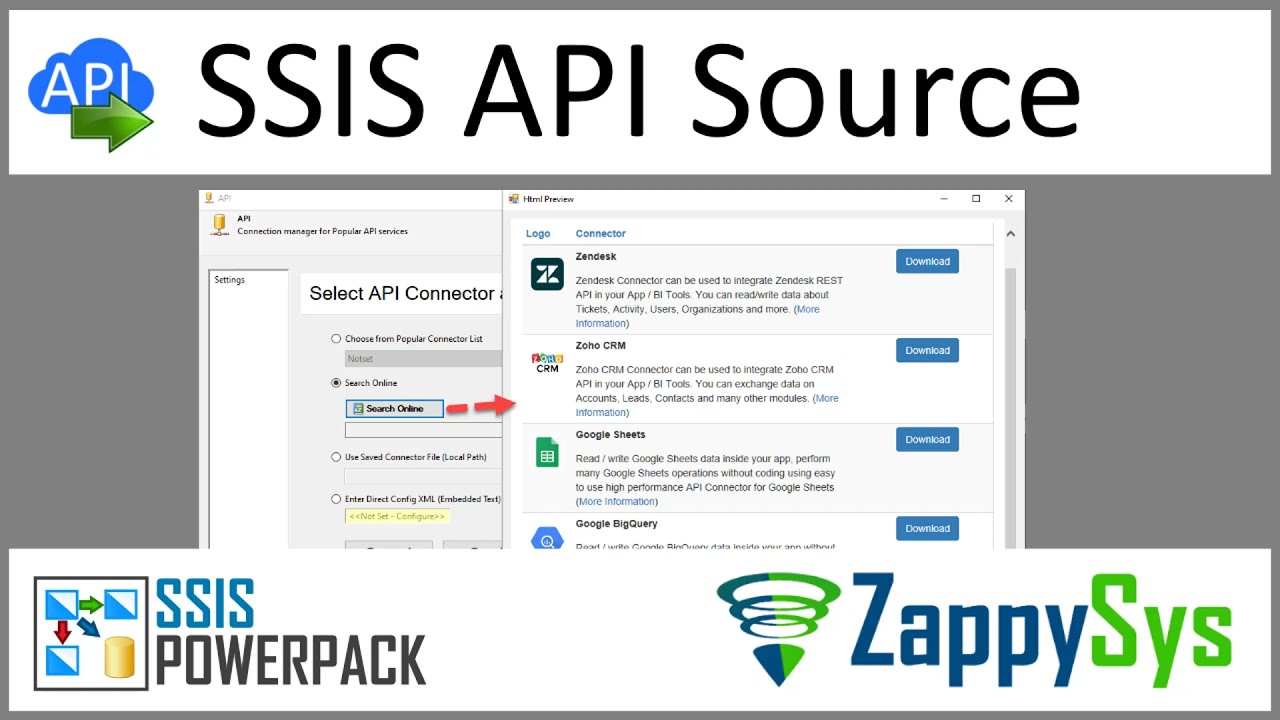
SSIS API Source
SSIS API Destination
Conclusion
Following these steps, you can seamlessly connect to Zendesk within SSIS, leveraging the ZappySys tool for efficient data retrieval and integration. For assistance or inquiries, contact our support team via chat on our website.
References
For more detailed information, refer to our ZappySys Zendesk connector.
