Introduction
This guide will walk you through connecting Power BI to the Google Drive connector using the ZappySys ODBC API Driver for seamless data retrieval. The ZappySys Google Drive connector offers a powerful solution for integrating your Google Drive data into Power BI, enabling easier management and deeper analysis of your data.
Prerequisites
-
ODBC PowerPack: Download and install the ZappySys ODBC PowerPack from the Customer Download Area or the trial version.
-
Google Drive Account
Steps
Create/Select a Project in the Google API Console
-
Navigate to the Google API Console.
-
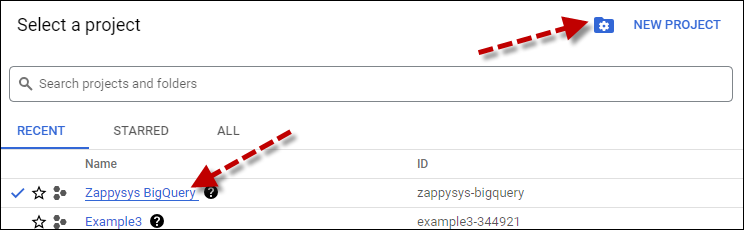
Click on the Project Dropdown at the top bar and either select an existing project or create a new one by clicking CREATE PROJECT.
-
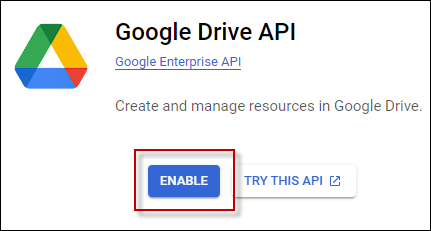
Once the project is set, click ENABLE APIS AND SERVICES.
-
Enable both Sheets API and Drive API by searching for them and clicking ENABLE.
-
Return to the main screen and click on the OAuth Consent Screen tab. Provide the necessary details and save.
-
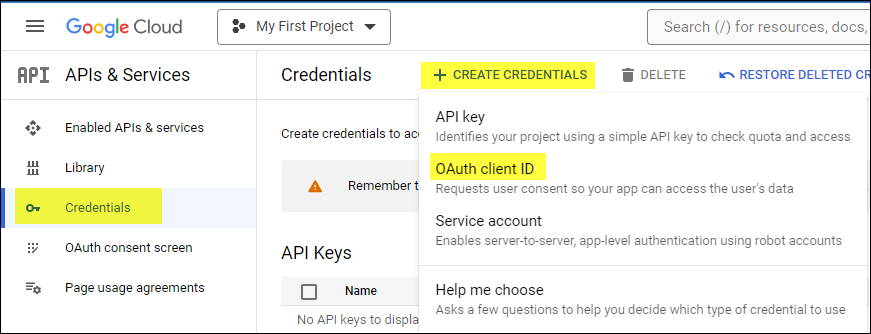
Move to the Credentials tab.
-
Click CREATE CREDENTIALS in the top bar, choose OAuth Client ID, select Desktop App as the Application Type, and click Create to obtain your Client ID and Secret.
Create a New Driver
-
Open the ODBC Data Source by typing “ODBC” in the search box and launching the ODBC Data Source.
-
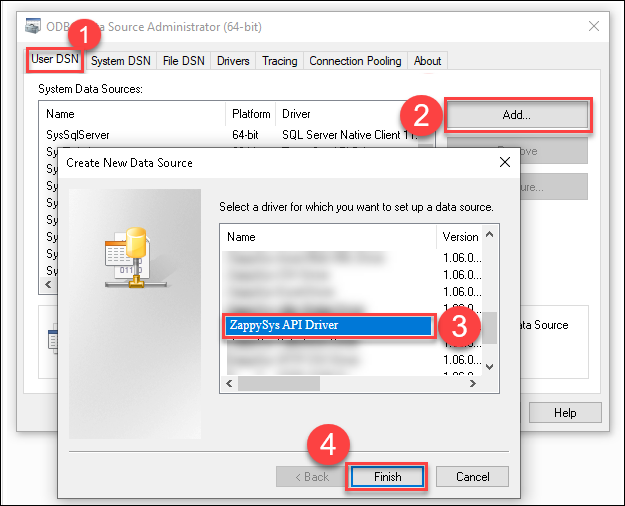
To gain access for yourself or other users, go to User DSN or System DSN. Go to the System tab for SQL Server Integration and add a new System DSN. Click the Add button.
-
From the driver list, select ZappySys API Driver, then select Google Drive in the connector list and press Continue.


Google Drive Connector Configuration
-
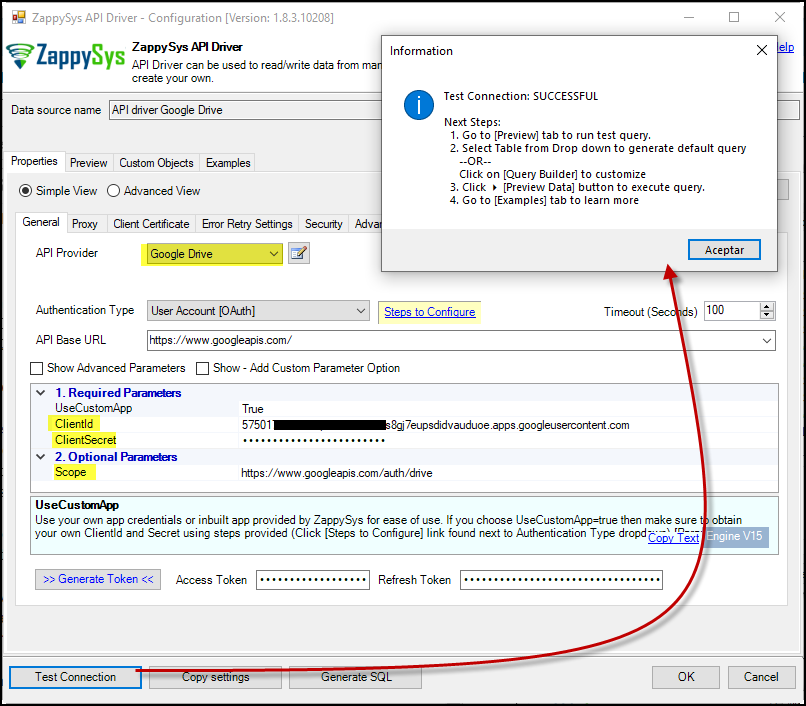
Fill in the connector fields, including Client ID, Client Secret, and Scopes.
-
Generate the token and test the connection.
-
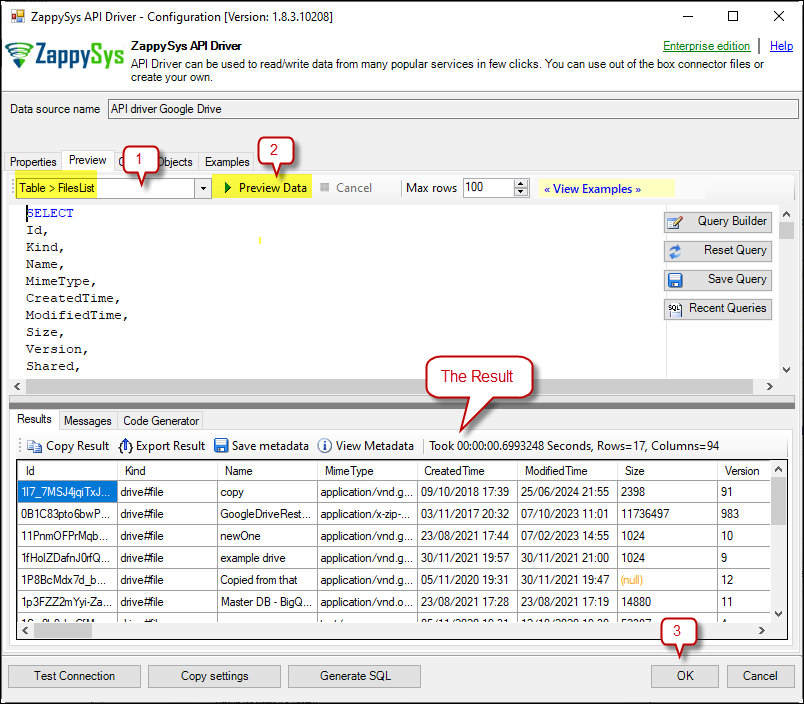
Go to the Preview Tab, select any table, and preview the result. Press OK to save the configuration.
Read Google Drive Data in Power BI Using ODBC
-
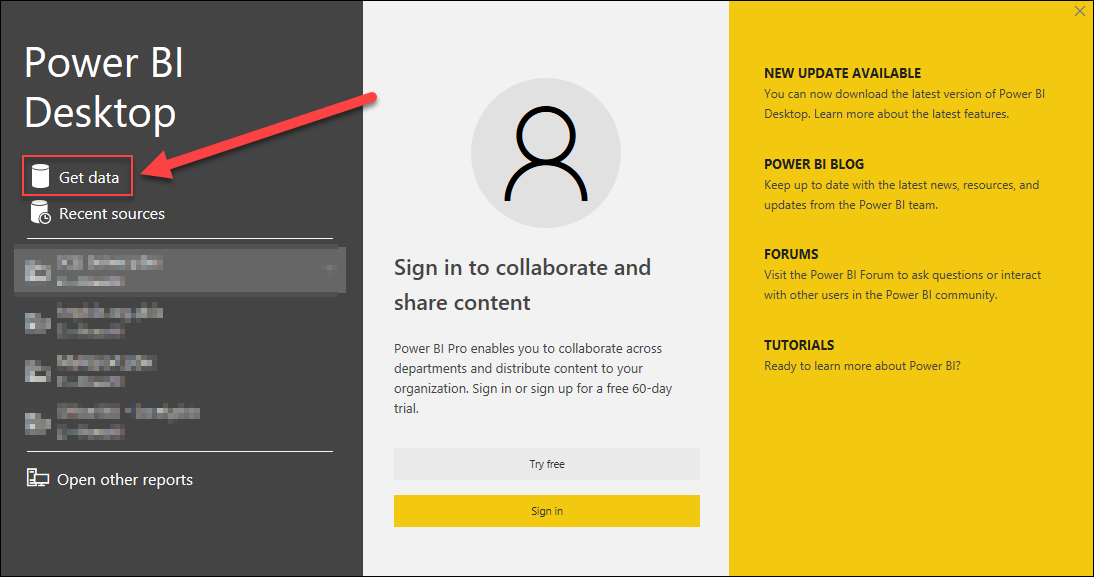
Open Power BI Desktop and click Get Data to retrieve data from an ODBC source.
-
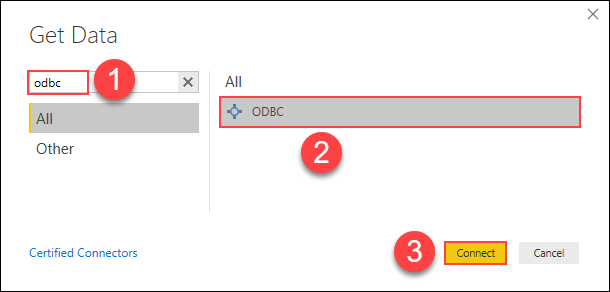
In the Get Data window, search for “ODBC” and select it to connect to the ODBC data source.
-
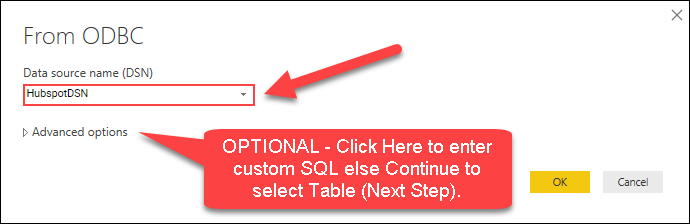
Select the ODBC Data Source Name (DSN) you created earlier, such as GoogleDrivexDSN, and click OK.
-
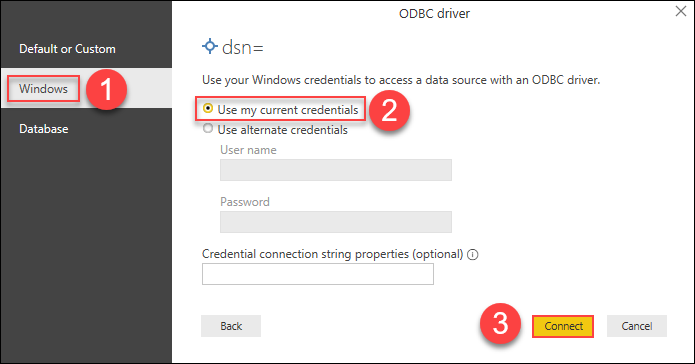
If prompted, authenticate using Windows Authentication or other credentials as required, then click Connect.
-
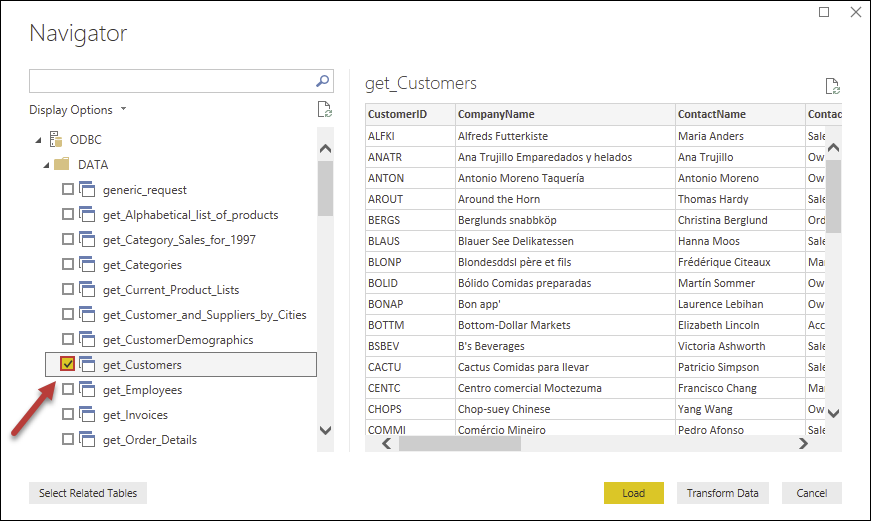
Choose the Google Drive table or view you want to load, then click Load to import the data into Power BI.
-
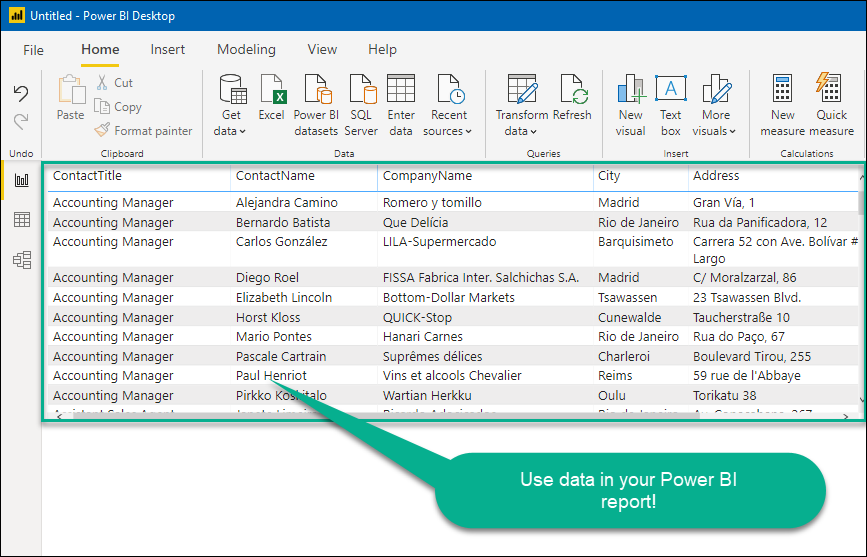
Visualize your data using the imported Google Drive data to create Power BI reports.
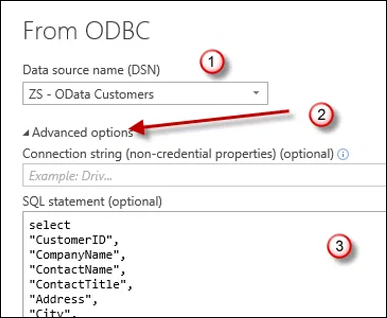
Import Google Drive Data Using SQL Queries
If you prefer to import Google Drive data via SQL queries instead of selecting tables, you can do so by using Advanced Options in the import dialog:
-
After selecting the DSN in the Get Data window, click Advanced Options to open the SQL Query editor.
-
Write the SQL query that targets the Google Drive data you wish to extract.
-
Once the query is executed, the data will be loaded directly into Power BI for further analysis.
Considerations
- Credential Management: Save your Google Drive API credentials in Power BI to avoid re-entering them each time you connect.
- Data Refresh: Set up scheduled refreshes in Power BI to automatically update your Google Drive data.
Video Tutorial

Conclusion
Following these steps, you can efficiently connect Power BI to Google Drive using the ZappySys ODBC API Driver, enabling smooth data integration for reporting and analysis. If you encounter any issues or need further assistance, please get in touch with the ZappySys support team.
References
For more information, refer to the Google Drive connector article.